On the day I was to deconstruct the rabbit, it took a very long time to thaw. My fellow students had told me that it took them roughly two hours (!) to complete the project, but by the time I could start, I only had an hour and a half until the end of class, including the half-hour designated for cleanup. And I had to get to work. This did not bode well. But eventually, we began.
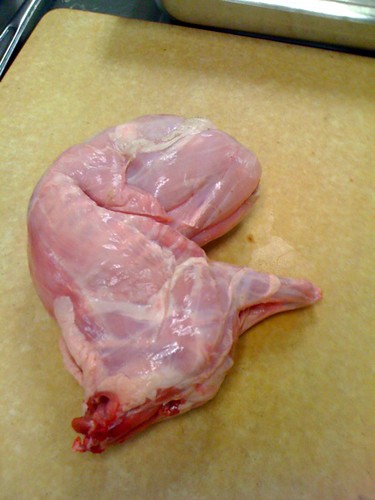
This is a bunny, straight out of the bag- it's got its hind legs tucked into its stomach cavity, which leaves it looking sort of like a fetus. This, predictably, bothered some people.
First, you take the hind legs out and remove the organs from the bunny. There will be heart, kidney, and liver. Because bunnies are classed as poultry in this country for processing, the organs are removed and then replaced during butchery, and the organs you get may not have belonged to the actual bunny in hand. Mine had three hearts, and the bunny of the student next to me had none.
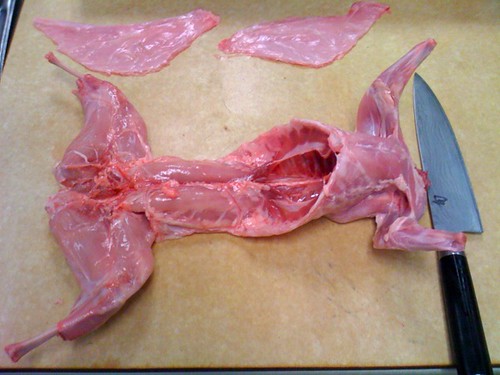
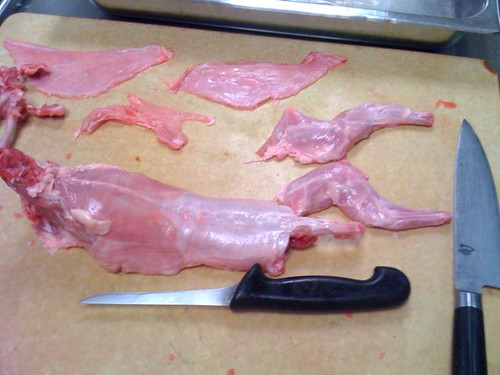
The first cut (after removing the kidney, which is left attached, and residual fat) is to remove the sides of the stomach area; there would be hangar steak and skirt steak here if this were a cow.
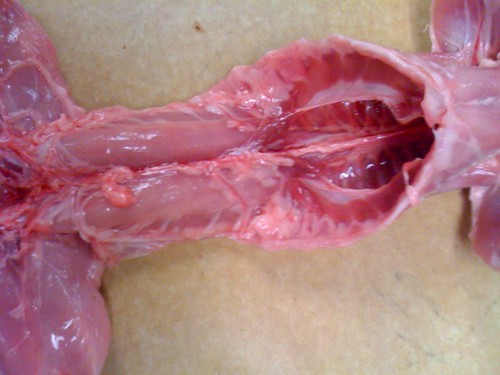
in this closeup you can see that the tenderloins- removing these is the next step. You must be careful, as they are small and fragile.
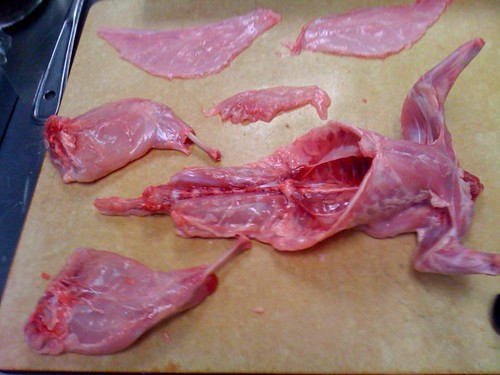
Once the tenderloins are taken care of (they're stacked together just above the bunny in the photo below) the hindquarters are removed, cutting up around the hip joint.
the legs are then deboned, leaving in the shinbone if desired. this is done by cutting around and along the bones on the seam visible there, starting with the wide end, scraping along the bone as you go.
After the hindquarters, the shoulders are removed completely (move the arm around to locate the edges of the scapulae) and deboned entirely. If there is an elegant way to do this, I'm not aware of it. I ended up with a messy pile of shoulder meat (I spared you that photo).
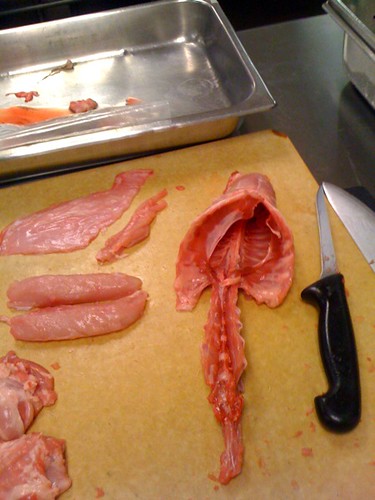
This is the point at which I ran out of time. The next cut is between the short ribs (top) and the long ribs (bottom). You cut toward the neck area until the short ribs are removed and the lower/back ribcage exposed.
The ribcage is separated from the lower spine by cutting where the ribcage meets the lower spine, and the top at the neck area is cut as well. Basically, cut away the spine that is not attached to the ribs.
The long ribs are trimmed to a reasonable length on each side, and then the ribs are cut from the spine to leave you with two little racks of rabbit. The ribs on these racks can then be frenched by cutting between the ribs and sliding the meat down to expose about 1/4"-1/2" of rib.
Bones can be used for stock. Meat yield in this project was around 70%.
No comments:
Post a Comment